Key Takeaways
- Magic Editor is a new option in Google Photos that uses AI to give guided edits on photos, offering powerful features like generative in-fill.
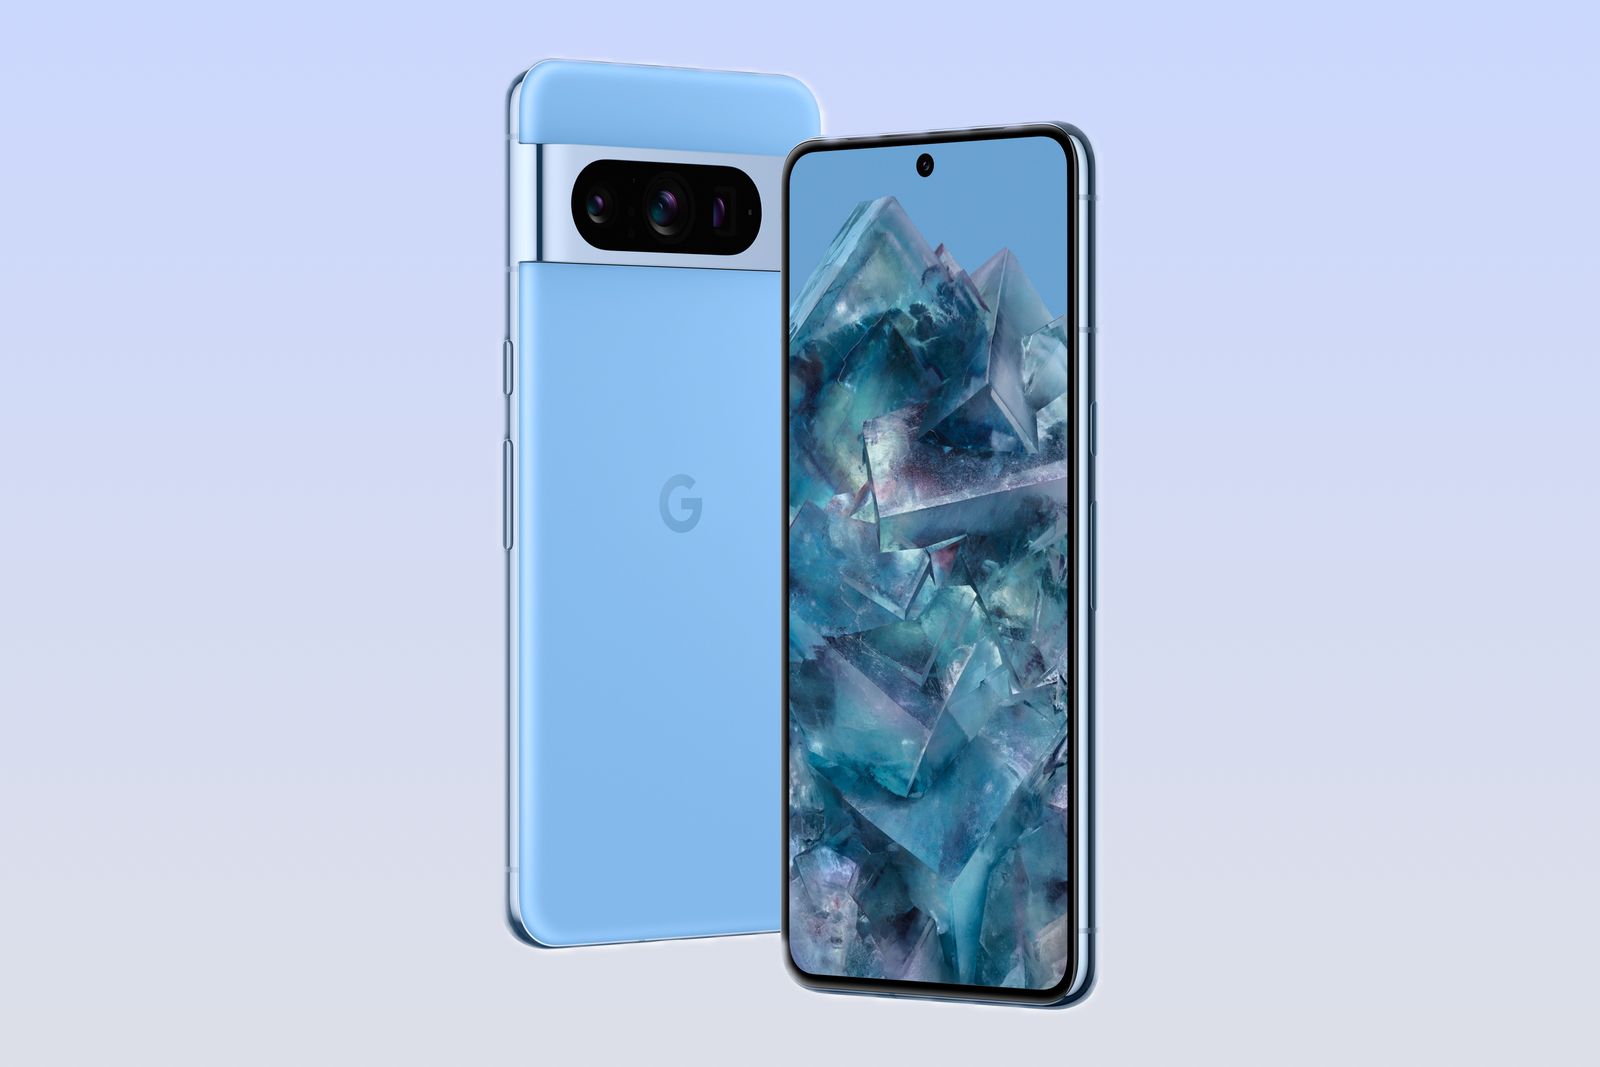
- It is currently only available on the Pixel 8 and Pixel 8 Pro, but as a cloud service, it has the potential to be used on other devices.
- Magic Editor allows for instant edits with contextual options like Portrait, Sky, Golden Hour, Water, and Stylised, providing quick and transformative changes to images.
Magic Editor is the talk of tech town. Announced at Google I/O, it made its debut with the launch of the Pixel 8 and Pixel 8 Pro – Google’s latest phones. Magic Editor takes the AI premise set down my Magic Eraser and turns the dial up to 11. It gives you Photoshop-like powers in the palm of your hand and at all happens on your phone. I’ve fully reviewed the Pixel 8 Pro, which I love, and Magic Editor is one of the reasons I rate the new Pixel so highly: it’s a game changer and no one else offers anything like this right now.
What is Magic Editor?
Magic Editor is a new option in Google Photos that uses AI to give you guided edits on your photos. It has nothing to do with the cameras, because the tool can work its magic on any photo you have in Google Photos. Yes, it’s completely backwards compatible.
The most powerful aspect of Magic Editor is the ability to use generative in-fill on your images. You probably saw this with Magic Eraser where a small section of background could be replicated, but Magic Editor is so much smarter – it doesn’t just fill the area with content from neighbouring pixels, it can understand the broader context of the image, thanks to AI, and so use better contextual imagery.
Is Magic Editor limited to the Pixel 8 models?
It is, but it isn’t. This is a little sneaky, because Magic Editor launched on the Pixel 8, but it doesn’t actually run on the device – it’s a cloud service. I know this, because it doesn’t work in airplane mode – you need an internet connection for it to function. As it’s a cloud service it should technically be able to work on any device that runs Google Photos. But currently it doesn’t, it’s Pixel 8 and Pixel 8 Pro only – and it doesn’t matter if you’ve installed Android 14 on your device, it’s not part of that update.
What can Magic Editor do and how do I use it?
Now we get to the fun part. I’m going to walk you through the major functions that the AI-based offers, with examples from images. I’ll explain what’s happening as we go along.
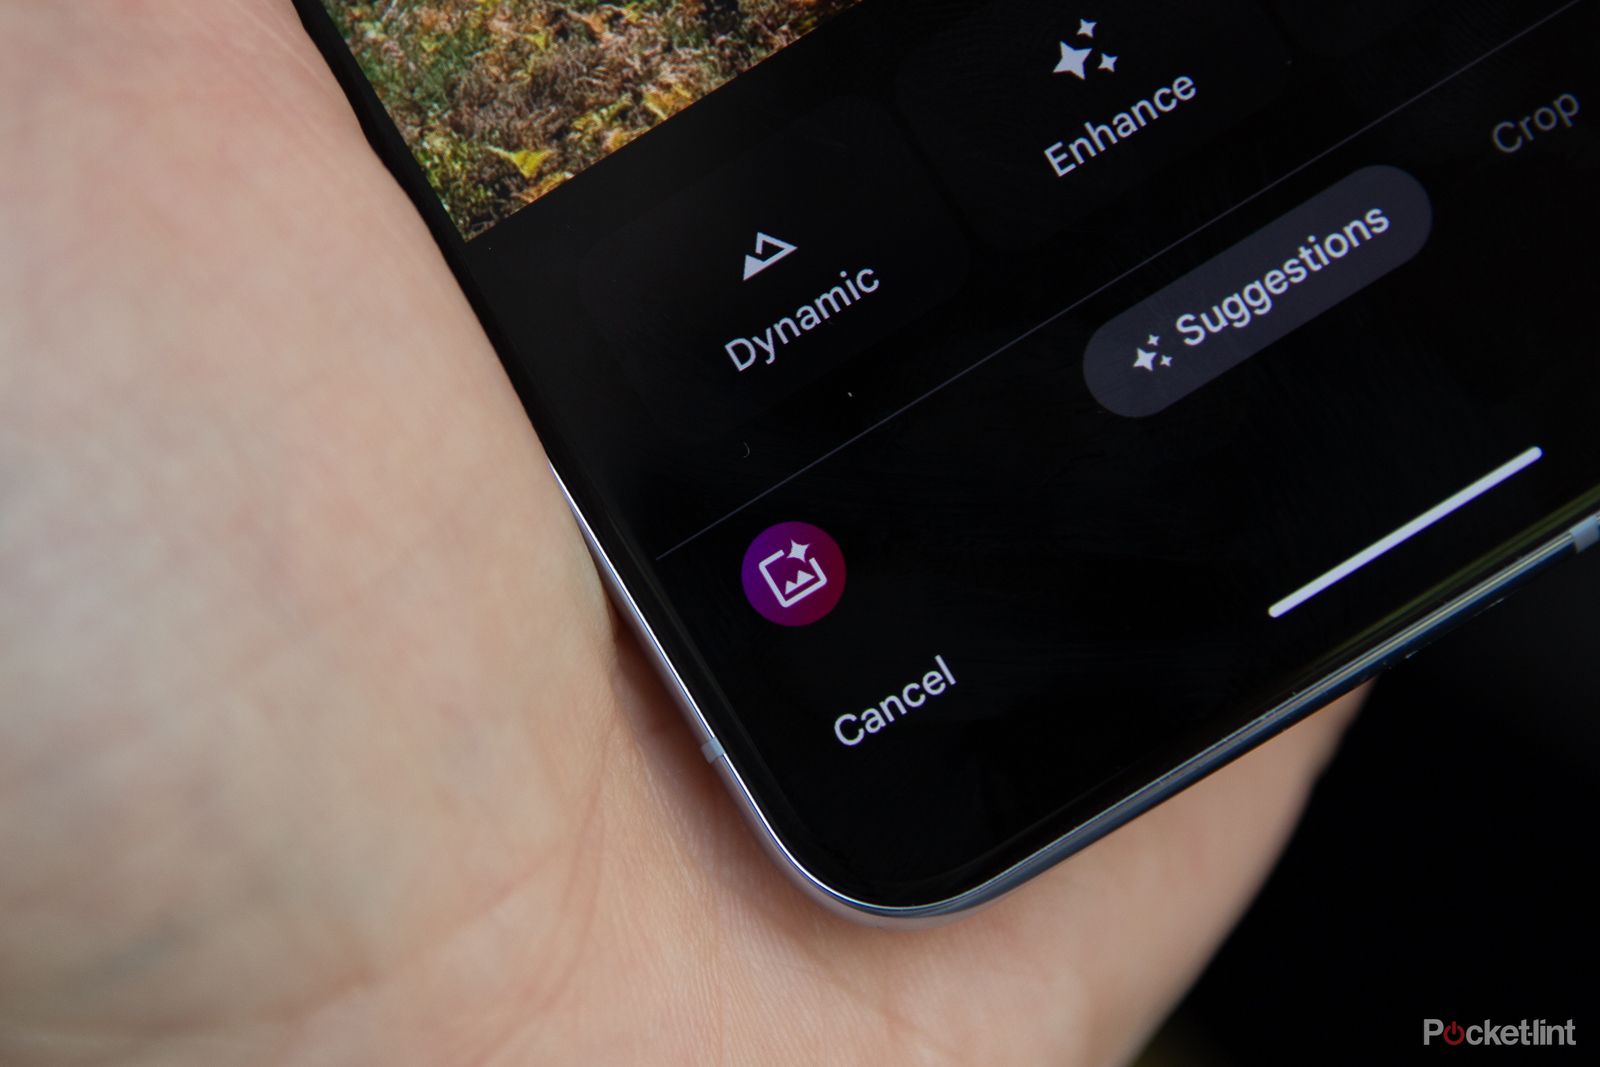
Magic Editor resides in Google Photos. Just open up the app (if you have the latest Pixel), open a photo and tap on Edit. This takes you to all the edit tools, with Magic Editor sitting in the left corner. Tap on it and you’ll enter a magic world of AI photo manipulation.
Instant edits
The options you are offered are contextual, they change depending on the image you open. At the very basic level you’re offered Portrait. If there’s sky in the image you’re offered Sky and Golden hour, if there’s water in the image you get Water options, if there’s a larger scene you’ll get Stylised. These are all quick edits you can make, just by tapping the button. If Magic Editor can’t recognise anything, you don’t get the option.
Below is a collection of Sky, Golden Hour and Water images, so you can see what sort of results you get. In each case the Magic Editor version is followed by the original. In each case you’re presented with three options, so you can swipe through and choose something you like. If you don’t like what you see, you can ask for a new set of images – because it’s AI, it just comes up with something new.
The Jefferson Memorial is completely different with those dramatic skies above it, the sky above Amazon’s HQ2 in Arlington is now glowing purple and I’ve put a sunset over the Washington Monument. Finally, AI has transformed a still rock pool into moving water.
You can also layer these options, but you have to confirm each step as you go along. In the example below I have changed but the sky and the water to make the image more exciting. Again, the AI image is first, the original second. These options have the ability to really transform a dull image and make it exciting, but that halo effect around the tops of the trees looks a little suspect.
One of the interesting options is to stylise an image. This is a little more creative as it takes what’s seen in the image and transforms it into something quite different. It’s almost an artistic interpretation of what was there – and a really easy way to create unique versions of images with absolutely zero artistic skill. I love the chicken burger which fuses real and artificial. The night river scene is transformed to be something more like a John Constable painting – there are some really creative interpretations.
Again, here’s a gallery of stylised images, AI first and original second.
You can also turn things into portraits, but this is less exciting. Google Photos has offered to blur the background for a long time, and most people, if they want a portrait, will shoot a portrait. But there’s a little more happening here. If there’s a distinct object where a foreground and background is recognised, you’ll get the portrait option. There are two outcomes: the first is that you get a portrait with a blurred background, but the section is that you get the subject of the image in portrait lighting with less illumination in the background – a bit like some of Apple’s portrait lighting options. Importantly it’s not just blurring the background, it’s changing the light levels across the image.
But wait – there’s even more happening. Yes, portrait will also remove elements from the background of photos, like people. Because it’s using AI, it’s using the generative in-fill. Again, check out the images and play close attention to that first family photo, because all the changes come from one single button press. The last image I’ve layered up – portrait, sky, water – it’s a totally different vibe. Again, AI first, original second.
Manual editing
Object removal
Aside from the one-button presses – or layered up results that I’ve talked about above – there are a range of more traditional edits you can make. This will give you functionality much like Magic Eraser, with the option to remove objects from the background, foreground or just about anywhere. You can trace over objects or just tap them and they will be selected for removal. Unlike Magic Eraser, it won’t scan the image and make suggestions, but as seen in the portrait above, at times it will just remove people from the background for you. Here’s a gallery of images where I’ve made these sorts of edits – I’ve removed everything from a street scene to make it look better, I’ve removed the dog’s lead and harness – and a sign in the background – and these are all through manually tapping objects for removal, or tracing over them.
Magic Editor won’t automatically select all of the object you want, but you can use multiple taps to select a range of different objects – and if something gets selected that you want to keep, you just press the back arrow. Again you can layer up effects, so in the snow portrait, I removed the people and dog to make the scene cleaner, but the grey sky was bringing it down, so I popped that over to something sunnier. Finally, I decided to remove the river from a river scene and then remove the sky. Magic Editor replaced them other what it thought was appropriate – more river bank and more trees, to create a totally different picture.
Big edits do reveal some telltale signs that AI is at work, because on large areas of AI in-fill you can see a texture in the image that’s not natural. Below is a crop into the river scene above where you can see real trees and AI trees – and one has a grainy texture, because those trees don’t exist, they come from Google’s imagination.
Repositioning and resizing
One of the wow parts of Magic Editor is the ability to select objects within an image and reposition them or resize them. This works on a similar principle to erasing objects, in that you can tap them to select them or trace over them. But instead of hitting the erase button, you can press and hold to select it. Once selected, you can move it within the image or pinch to increase or decrease the size of the object. Again, you can layer up the effects that you apply, so this gives you lots of smart creative freedom. In the gallery below, again AI is first, the original second.
But AI hasn’t quite grasped what shadows are, so you might want to move shadows with the object, because AI won’t redraw these. However, if you trace over an object it’s easy enough to include the shadow. The thing about this sort of edit is it assumes that you didn’t really think about composition in the first place, so you might find that you don’t have as many images that you might want to shift around like this. But, I decided that I wanted Arnold Schwarzenegger to be giant, I wanted my dog to be massive on the beach, my son was far too close on the hilltop, so I moved him further away and my photo of the BMW X7 in Joshua Tree National Park had too much of me and the car needed to be centralised. All easily done with Magic Editor.

Google/ Pocket-lint
Google Pixel 8 Pro
Google’s latest flagship phone comes with an outstanding display, an excellent camera system boosted with AI and offers a great clean Android 14 user interface.
FAQ
How do I get Magic Editor?
Magic Editor is currently only available for the Pixel 8 and the Pixel 8 Pro, so if you want to experience the Photoshop-like skills, you’ll need one of those phones. However, it’s a cloud-based service, so there’s no reason why it couldn’t come to other Pixel devices, other devices running Google Photos or indeed through a browser. This hasn’t been confirmed by Google, however, so currently, you’ll need the phone.
Is Magic Editor destructive?
No, Magic Editor save copies of all the images you create, so you’ll have the original image. The AI-enchanced version will sit alongside the original in Google Photos, so you can see both images.
Can you make multiple edits in Magic Editor?
Yes, you can make multiple edits to an image, layer up the effects that are offered to create a whole new image. You can’t add elements that aren’t in the image however, you can only work with what you’ve got. However, Magic Editor will use generative AI to fill in the background, so if you remove a large section of an image, it will create something to fill the space.
Credit : Source Post


